



Making a product demo video might feel like a big project. But you don’t need a camera, studio lighting, or years of editing experience to create a great product demo. If you’re launching a new app, showcasing a fresh software feature, or introducing an online service, all it takes is your computer and a clear picture of what you want to show.
Screen recorders, presentation software, animation platforms, and AI video generators each offer a different way to build a demo. Most of these tools are beginner-friendly, so you don’t need a production background to get started.
In this guide, we’ll explore several ways to craft a product demo without filming, look at which tools work best for different projects, and share practical tips for keeping your videos engaging and professional.
Why skip filming for your product demo video?
Not every demo needs live footage. For digital products, the best way to demonstrate their value is often to show them in action rather than use an on-camera presenter.
Going camera-free also simplifies the whole process.
For starters, it saves time. There’s no lighting to arrange, no camera to position, and no reshooting the same moment over and over. Instead, you put your energy into a clean, clear walkthrough of your product.
It also reduces production costs. Cameras, microphones, and lighting kits are expensive, while plenty of screen recording and editing tools cost little or nothing. This makes camera-free demos a practical option for small teams and businesses working with a limited budget.
Then there’s flexibility. When your product changes, you won’t have to schedule a fresh filming session. A quick update to a screen recording, a few new slides, or a small edit to the existing video usually does the trick.
For software companies, trainers, and SaaS businesses, screen-based demos keep the spotlight on the product. Viewers follow every click, menu, and feature without distraction.
In short, camera-free demos save time, trim costs, and often make your product far easier to understand.
Ways to create demo videos without filming
There’s more than one way to build a product demo without a camera, and the best choice depends on what you’re demonstrating and how you’d like to present it. Software and websites are well suited to screen recording, whereas presentations, animations, and AI-generated presenters work better for other kinds of demos.
Let’s start with two of the simplest options.
Method 1: Screen recording
For software, websites, and online platforms, screen recording is usually the most straightforward approach. Instead of filming yourself, record your screen, guiding viewers through the product.
If you’re new to screen recording, the process is refreshingly simple:
- Decide which features or tasks you want to demonstrate.
- Close unnecessary applications and turn off notifications.
- Start your screen recorder.
- Move through the product, highlighting the most important steps.
- Add voice narration during or after the recording.
- Polish the video by trimming mistakes, zooming into key areas, and adding captions or callouts.
A good software demo doesn’t need to cover every feature. Focus on one problem your audience wants to solve and highlight how your product helps them do it.
A few tools make screen recording especially easy.
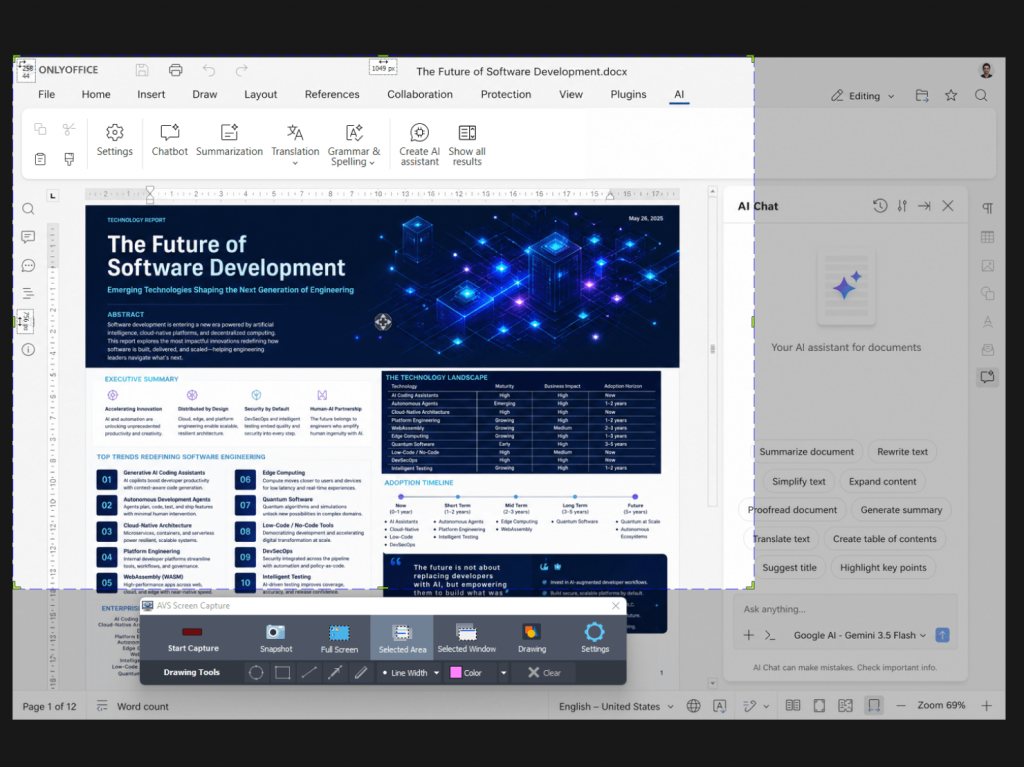
AVS Video Editor brings recording and editing together in one place. Once you’ve captured your screen, you’re free to trim clips, add annotations, transitions, background music, and titles without ever leaving the program.
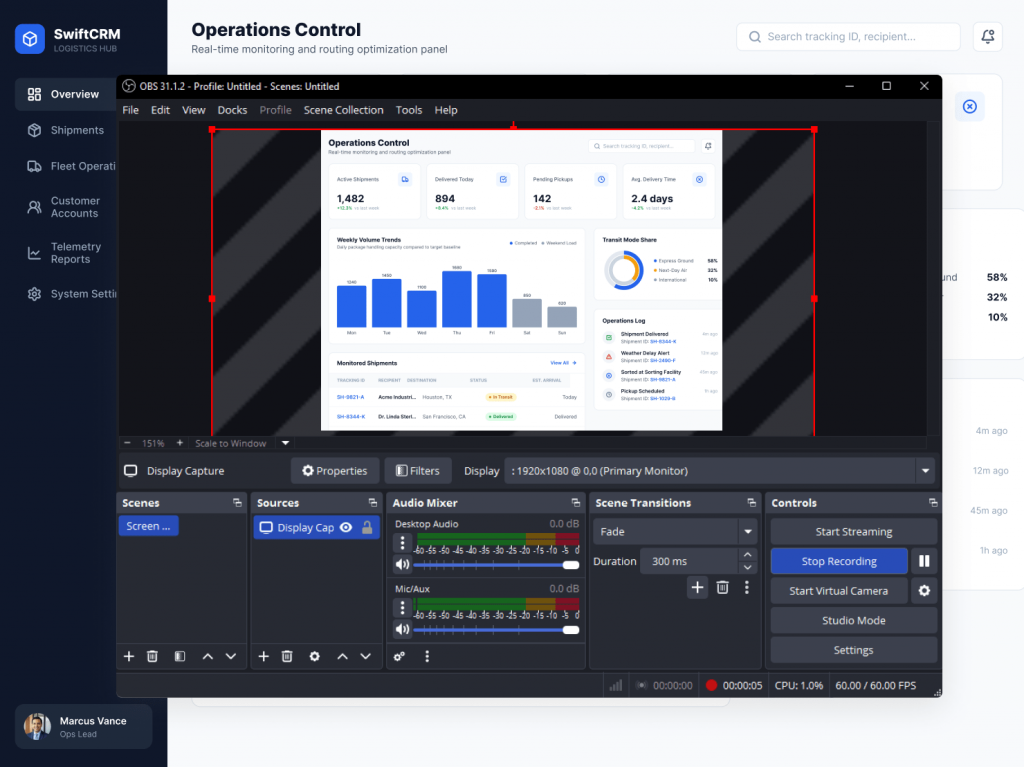
OBS Studio Screen Recorder is a free pick with more advanced controls. It supports multiple sources and offers detailed settings for further customization of recordings.
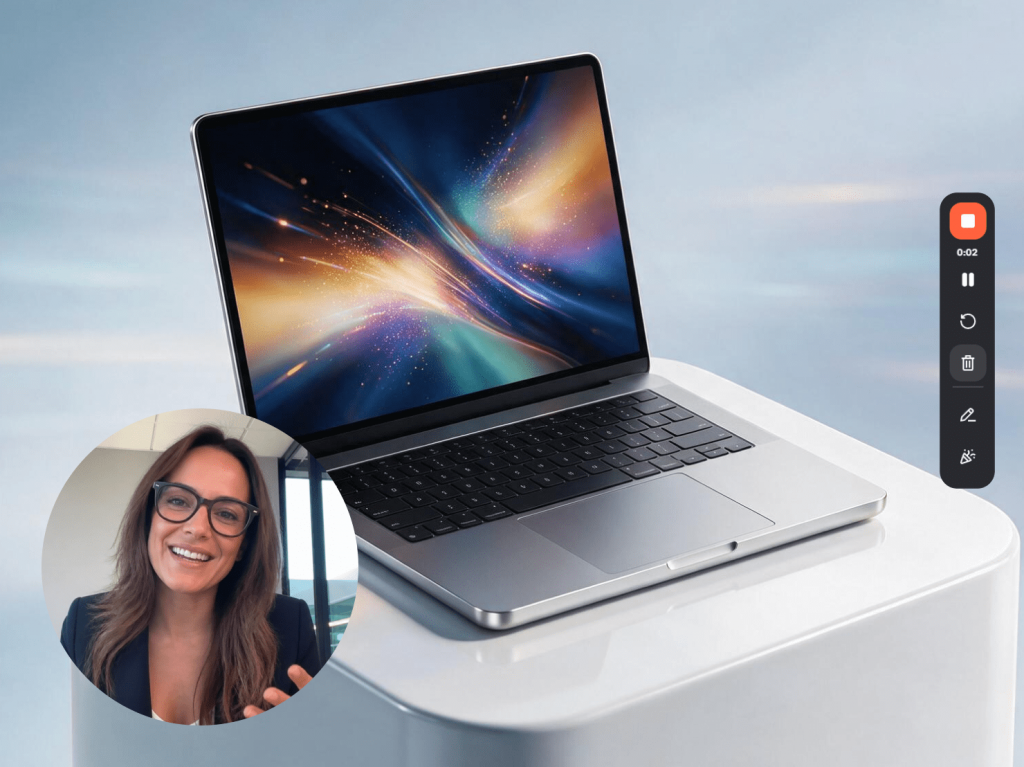
Loom screen recording software is built for quick captures and easy sharing. Record your screen, webcam, or both, then send the finished video to colleagues or customers with a simple link.
Whatever tool you choose, resist the urge to show every menu and setting. Explaining one useful workflow in detail is far more helpful to viewers.
Method 2: Presentation-based videos
A demo doesn’t always need to show the product in real time. Sometimes a well-built presentation shows your product more clearly.
Presentation-based videos work beautifully for product overviews, feature announcements, onboarding materials, and sales decks. Build a sequence of slides with screenshots, diagrams, icons, and short text, add narration, then export everything as a video.
Here’s a simple workflow:
- Explain the problem your product solves.
- Design clean slides with minimal text.
- Add screenshots or illustrations that support your message.
- Record a natural-sounding voiceover for each section.
- Export the presentation as a video and make any final edits.
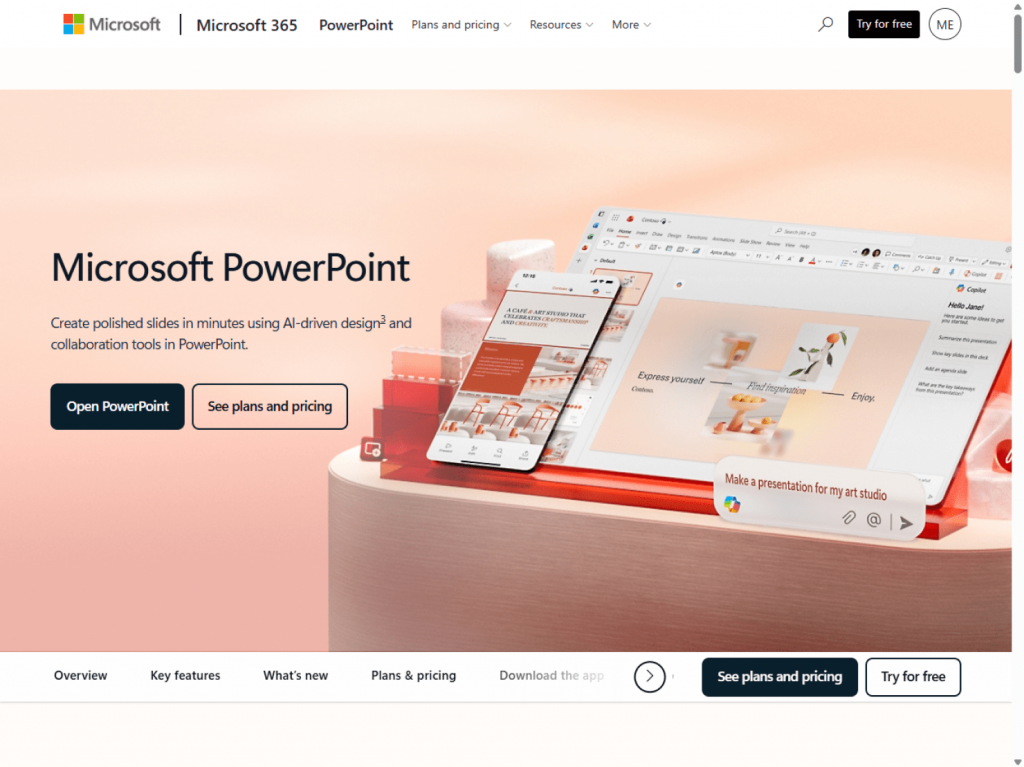
Ready to turn PowerPoint into a video? Microsoft PowerPoint includes a built-in export option that saves presentations with recorded narration as MP4 files. Thanks to this feature, it is a handy PowerPoint-to-video converter.
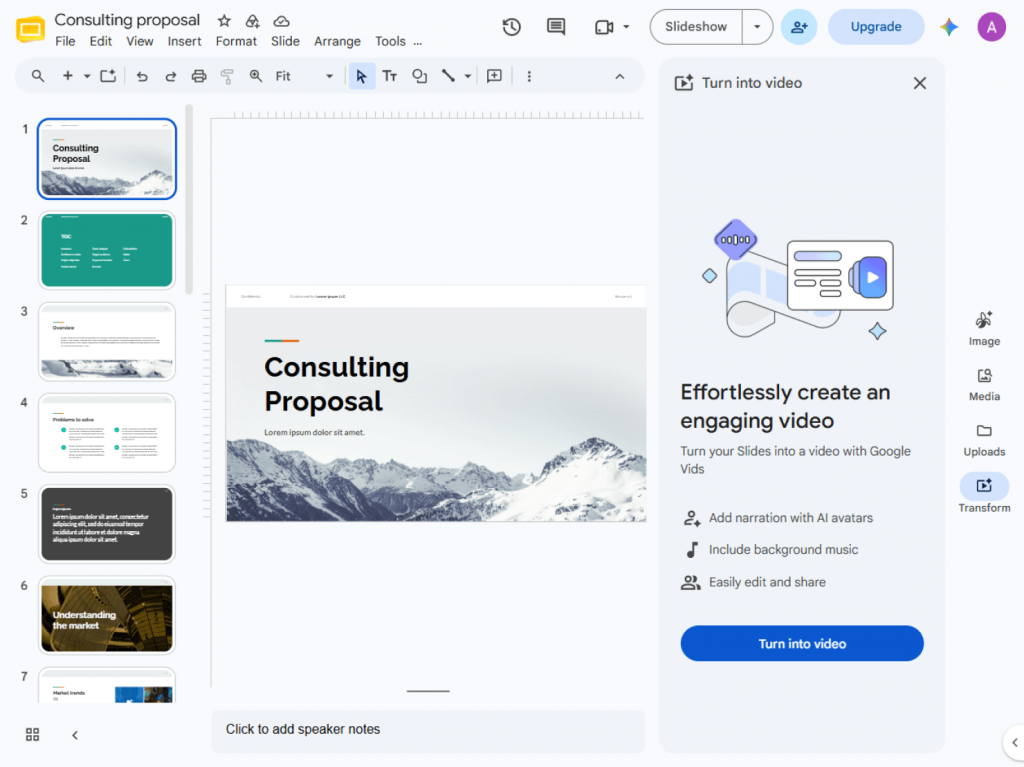
Google Slides offers a browser-based way to create presentations online, and a few extra tools will help you turn those slides into a finished video.
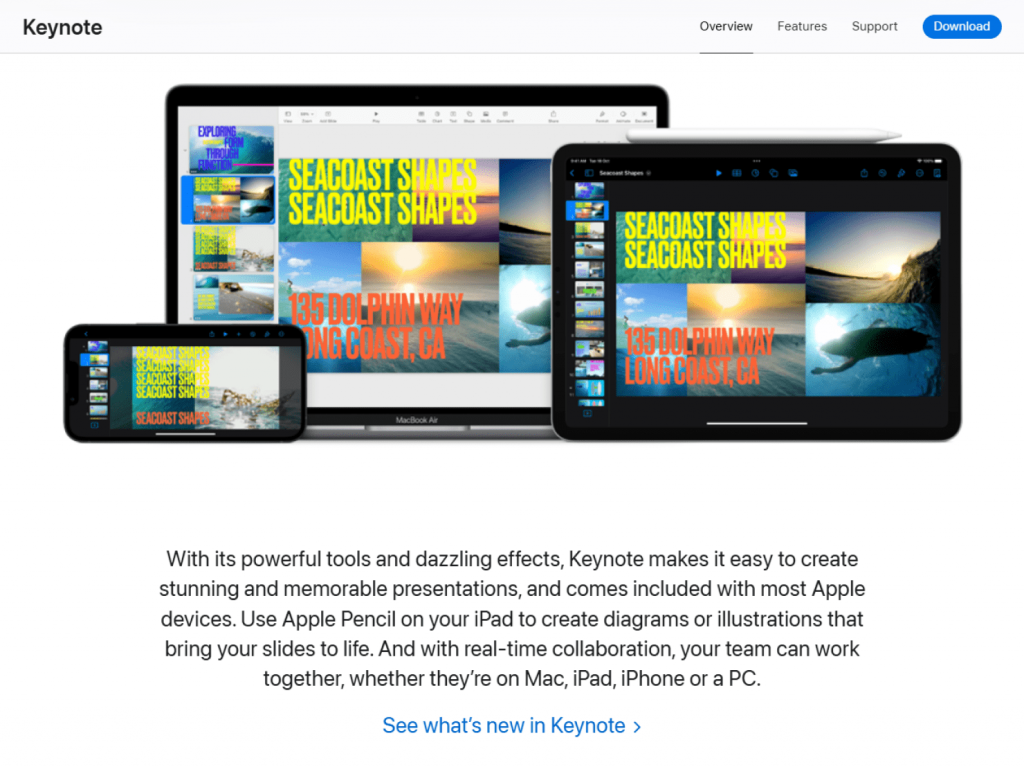
Mac users have Keynote, which comes packed with templates, animations, and the ability to export presentations as a video file. This makes it another solid option for presentation-based demos.
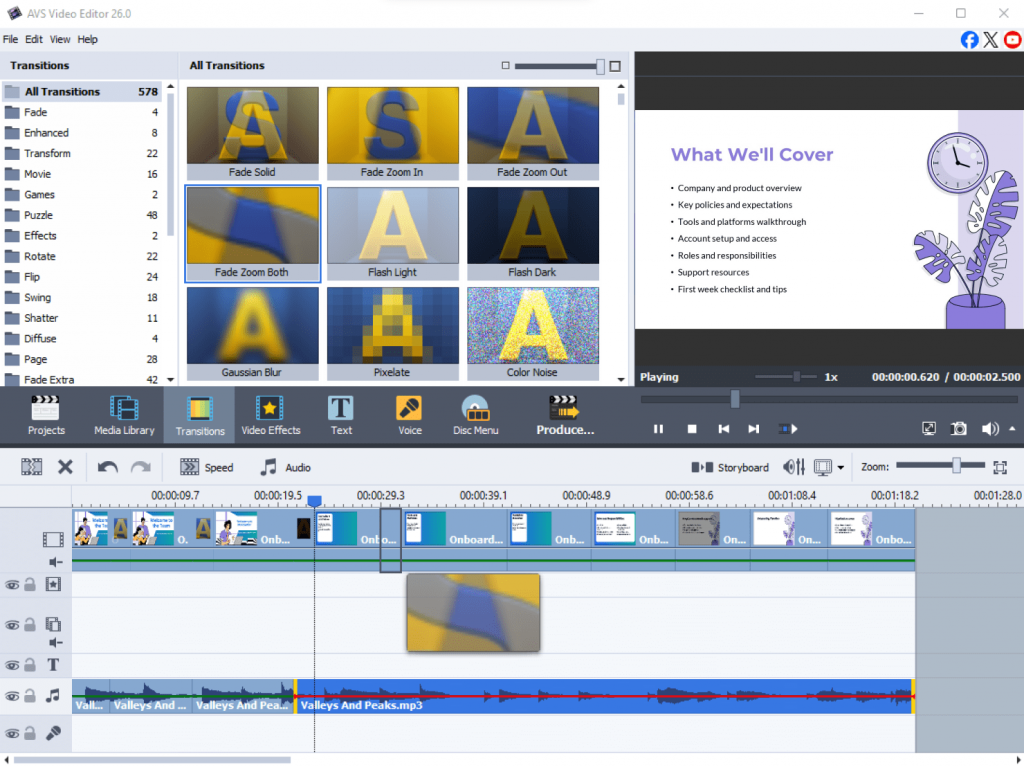
Once your presentation is exported, bring it into AVS Video Editor to layer on transitions, background music, captions, and branding. Those finishing touches transform a basic slide deck into a polished product demo.
Method 3: Animation tools
Some products are tricky to explain with a screen recording alone. When you need to illustrate a workflow, introduce a fresh concept, or show how several features fit together, animation makes the explanation easier to understand.
Professional design skills aren’t required to produce an animated product demo. Most animation platforms offer templates, drag-and-drop editors, and rich libraries with a variety of icons, characters, and motion graphics. Instead of starting from a blank canvas, pick an existing template and shape it around your product and message.
A sample workflow looks like this:
- Write a short script focused on one problem and its solution.
- Choose a template that aligns with your product or industry.
- Swap the placeholder text for your own content.
- Insert your logo, brand elements, and screenshots
- Add background music or voice narration.
- Save the video and make any final edits.
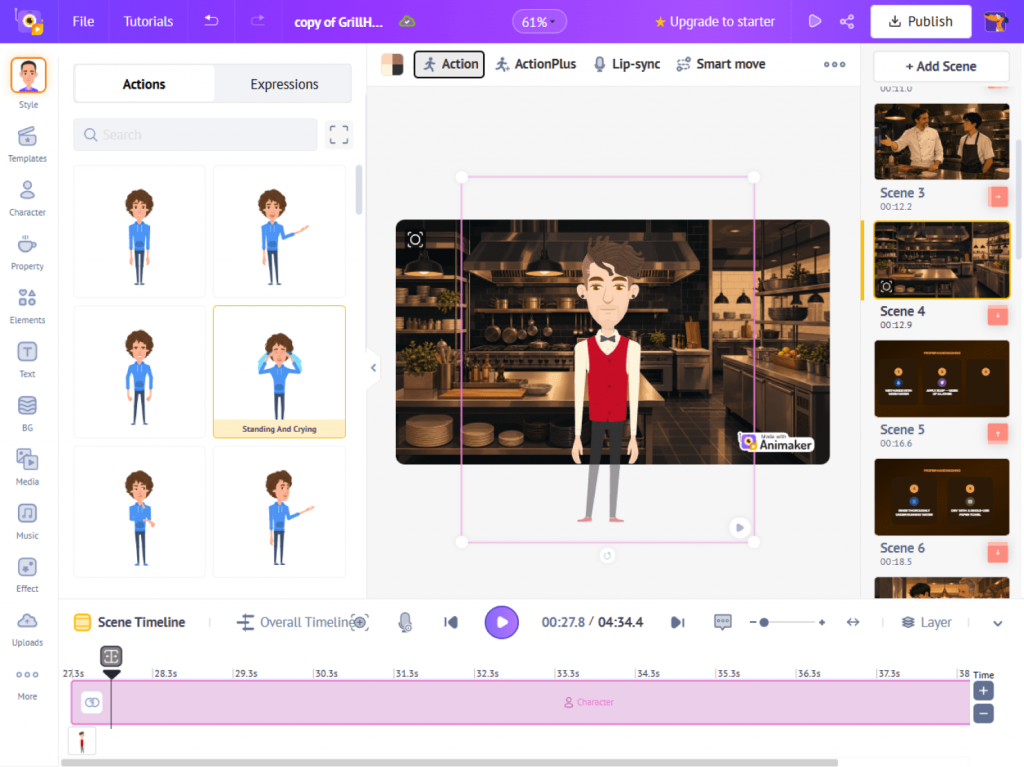
Looking for an easy starting point? Animaker includes a wide selection of templates and an intuitive editor for building animated videos.
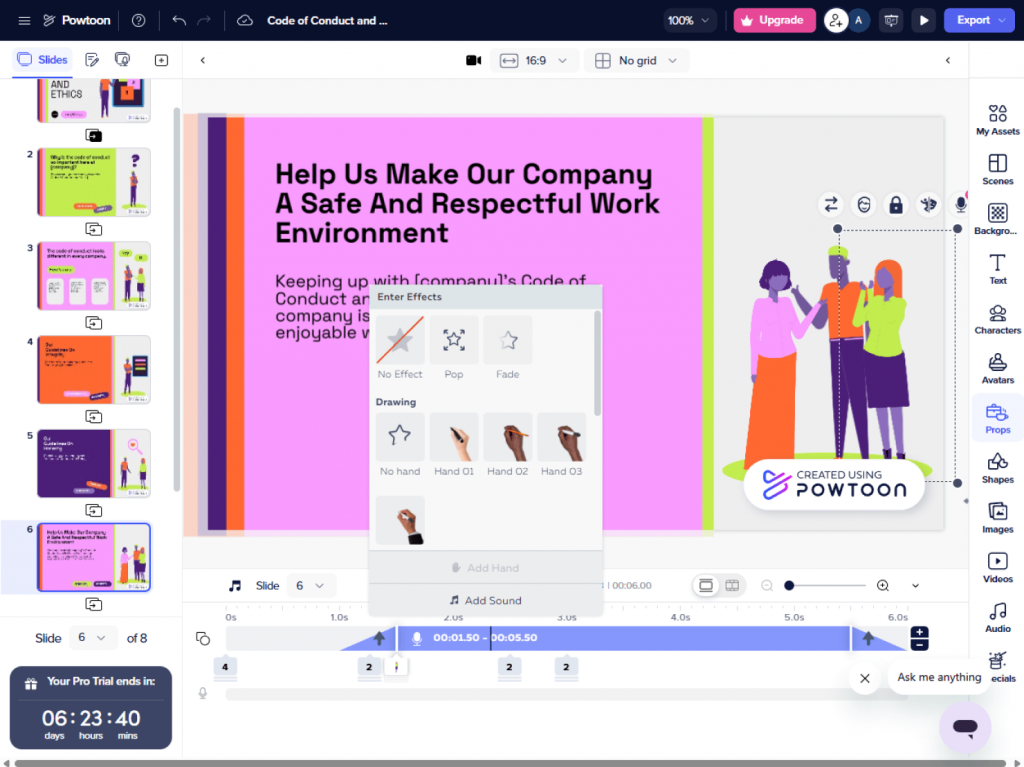
Powtoon is another favorite for animated explainers, presentations, and marketing videos, with beginner-friendly templates, simplifying the process.
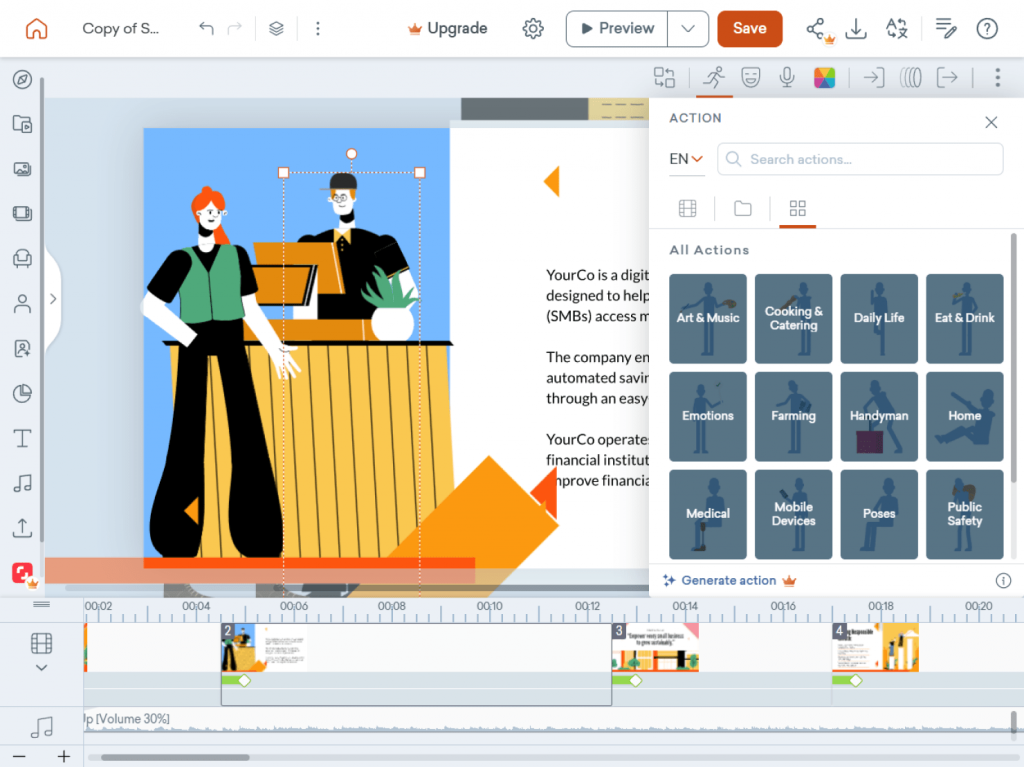
For more detailed business animations, Vyond delivers characters, scenes, and customization options designed for product demonstrations, training materials, and internal communications.
Animation works especially well when you’re explaining something complex. Use visuals and motion to make the concept easier to understand while highlighting its key benefits.
Method 4: AI avatar tools
Want to include a presenter without appearing on camera? An AI avatar video maker crafts a presenter-style video straight from a written script.
These tools generate digital presenters that read your script aloud. Pick an avatar and voice, add your text and supporting visuals, then generate the video. It’s a great match for businesses that want professional presentations without recording multiple takes.
Creating an AI avatar video usually comes down to a few steps:
- Write a conversational script.
- Choose an avatar that suits your audience.
- Select a voice and language.
- Add your branding, screenshots, or other visuals.
- Generate the video and fine-tune the final result.
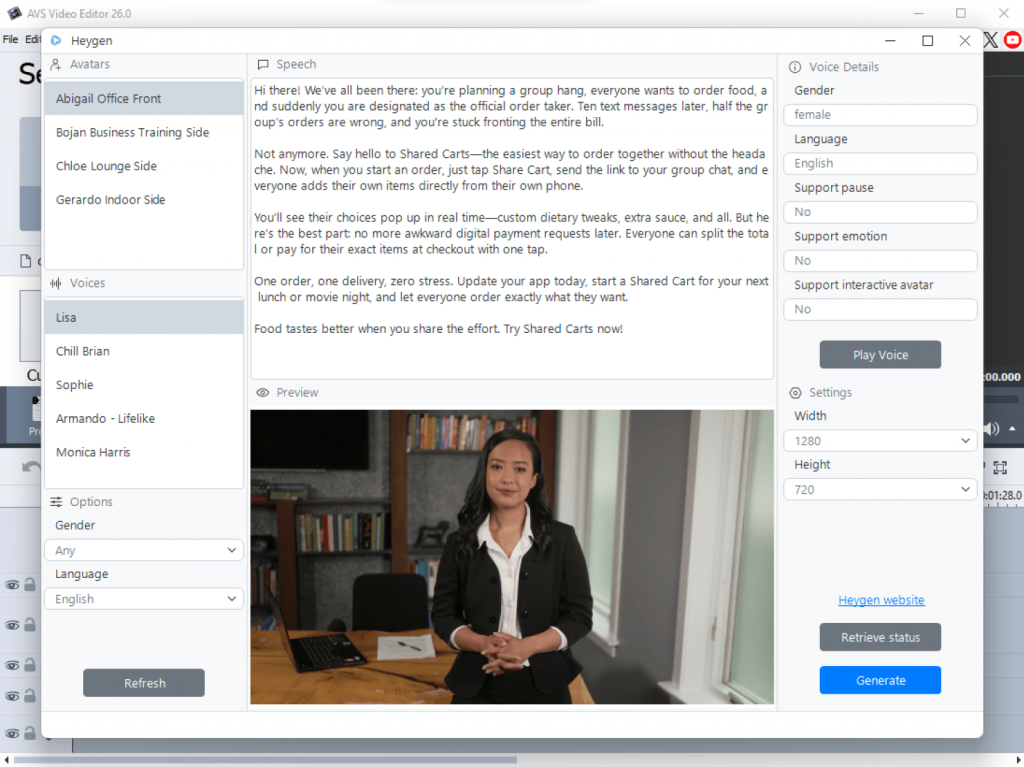
HeyGen is one of the best-known AI avatar platforms. It comes with digital presenters, a range of voices, and support for multiple languages. It is particularly suitable for businesses with international audiences.
Already editing in AVS Video Editor? The HeyGen AI plugin lets you generate AI presenter videos right inside your editing workflow.
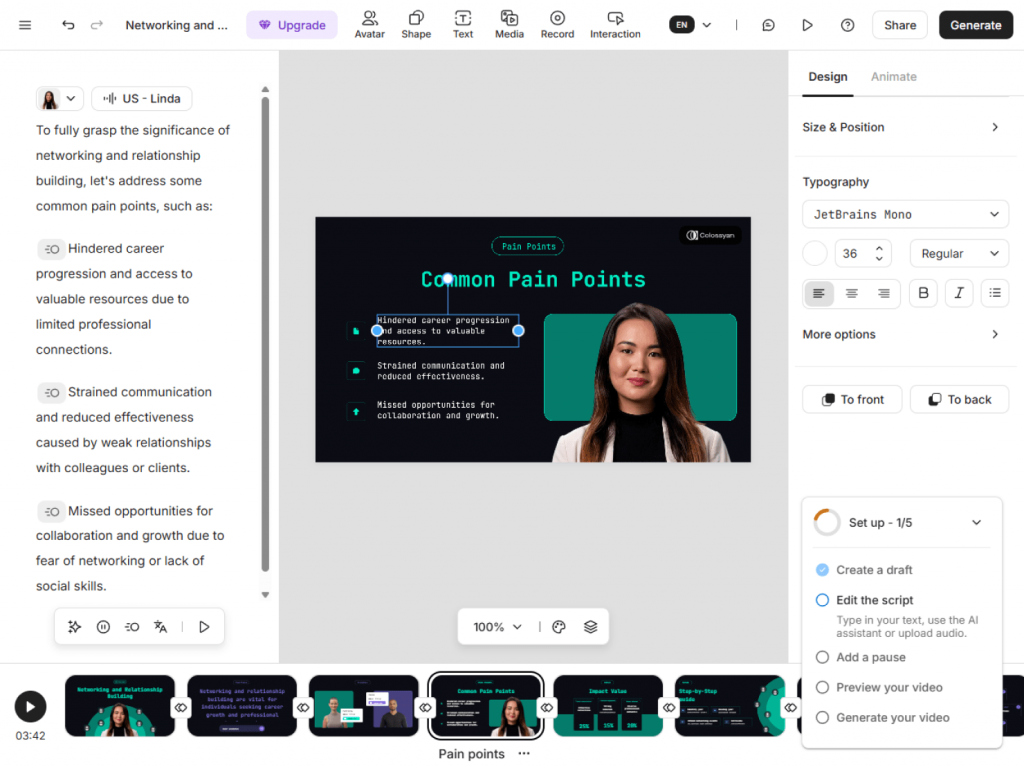
Synthesia is another option for rendering a script into a presenter-style video, while Colossyan focuses on workplace communication, training, and multilingual business content.
AI avatars really pay off when product information changes often. Instead of recording from scratch each time, you simply update the script and generate a fresh version.
Method 5: Slideshow-to-video converters
Already have the materials for a demo such as screenshots, product images, icons, or marketing graphics? Combine them together into a video without recording a thing.
Slideshow-style demos work well for product showcases, feature highlights, promotional videos, and social media content. Add movement, transitions, captions, and music to transform static visuals into a more dynamic presentation.
Here’s the simple approach:
- Gather your best product images and screenshots.
- Arrange them in a logical order.
- Add titles and short text to explain each feature.
- Layer in background music and transitions.
- End with a clear call to action.
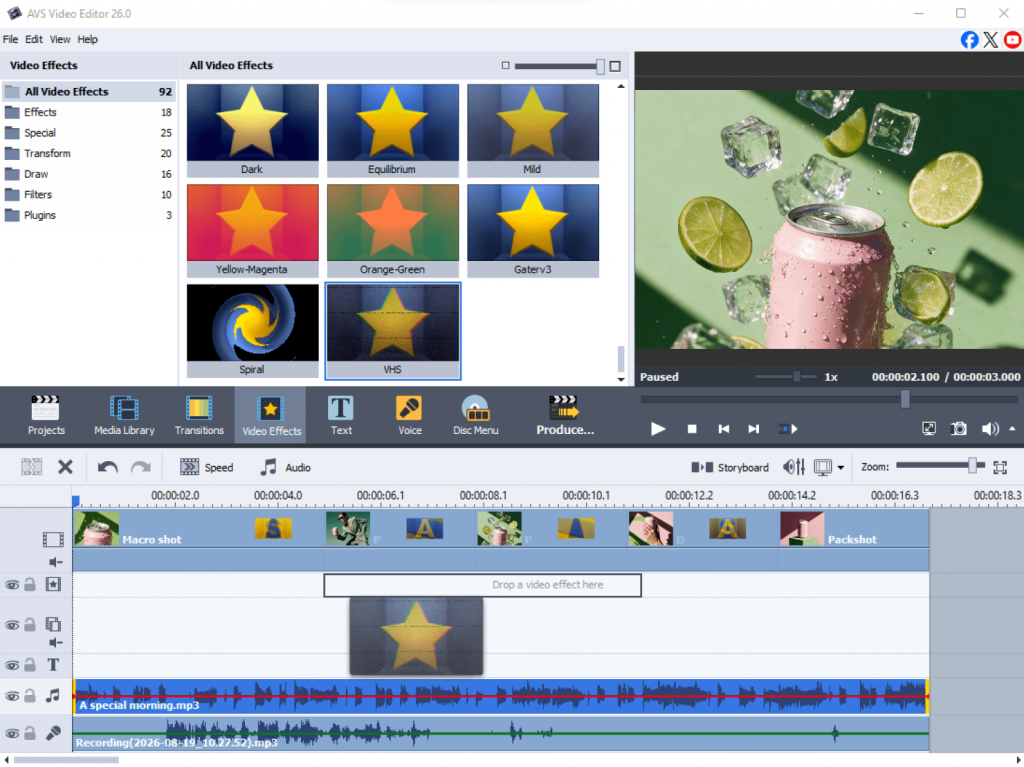
AVS Video Editor keeps this process straightforward. Import your images and clips, arrange them on the timeline, then add transitions, text overlays, voice narration, and music before exporting the newly-created demo.
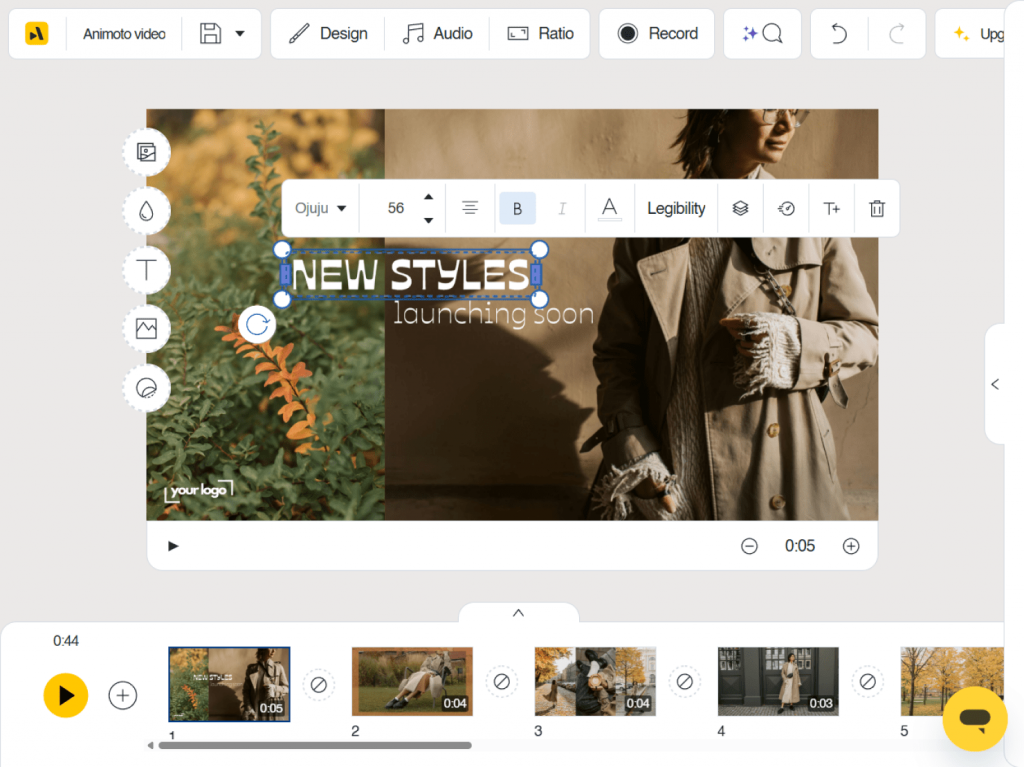
Prefer working online? Animoto lets you build slideshow videos from customizable templates.
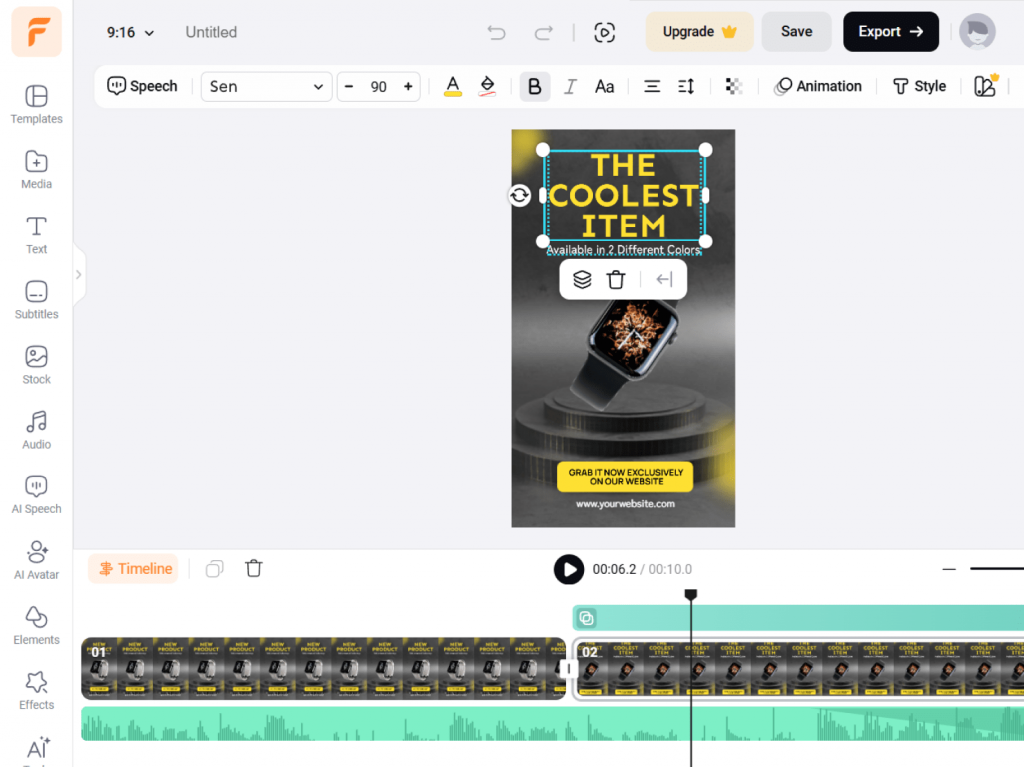
FlexClip is another browser-based editor, combining templates with stock media, text animation, and music. It’s useful if you want to create videos without installing desktop software.
If you’re introducing a new product or creating content for social media, slideshow videos turn the visuals you already own into a presentable demo.
Best tools to make demo videos
The right tool depends on the type of demo you want to create.
For software and website demos, screen recording is usually the most practical solution. AVS Video Editor lets beginners record, edit, and export in a single application. Need more advanced recording controls? OBS Studio is a dependable free choice, while Loom stands out for quick captures and easy sharing.
For presentation-based demos, Microsoft PowerPoint, Google Slides, and Keynote shape slides into narrated videos effortlessly.
To explain a process or concept visually, animation platforms such as Animaker, Powtoon, and Vyond offer templates to simplify the process.
For presenter-style videos, AI platforms such as HeyGen, Synthesia, and Colossyan produce videos from a written script.
Already have product images, screenshots, or graphics? AVS Video Editor, Animoto, and FlexClip convert them into slideshow-style videos.
And if you’d love one tool that covers several of these workflows, AVS Video Editor combines screen recording, video editing, titles, transitions, effects, audio editing, and slideshow creation in a single solution. Capture your demo, edit it, add the finishing touches, and export the final result, all without switching between different applications.
Tips for a professional-looking demo
The tools matter, but your approach matters just as much. A handful of thoughtful choices will make your demo easier to follow and far more useful.
Start with a short script. Planning what you’ll say before you hit record keeps your presentation structured and cuts down on cleanup later.
Keep it concise. Two or three minutes is usually plenty to demonstrate a product, feature, or workflow. If there’s more ground to cover, break it into several short videos instead of a lengthy one.
Use captions and text callouts. They reinforce your key points and help viewers who watch with the sound off.
Add a natural voiceover. Explain how the product solves a problem instead of just listing its features. Keep your delivery natural and focus on what matters to your viewers.
Stick to one main message. Trying to show everything your product does makes the demo difficult to watch. A video that addresses one problem is often more effective than a long list of features.
Common mistakes to avoid
Even with great tools in hand, a few small slip-ups can make a demo confusing. The good news? Most are easy to prevent with a little planning.
Skipping the script
Jumping straight into recording is tempting, but an unplanned demo quickly becomes disorganized. Before you begin, outline your main points and jot down a short script. That keeps you on track, cuts the awkward pauses, and keeps your explanation clear.
Making the video too long
Your audience doesn’t need to see every feature in one sitting. Pick one problem and show how your product fixes it. More often than not, a demo works best under three minutes. If you’ve got more to say, a series of shorter videos beats one long presentation.
Overloading the screen
Too much text, animation, or on-screen movement pulls attention away from the product. Keep the visuals clean and use highlights, callouts, or zoom effects when they help direct attention to something important.
Forgetting the customer’s perspective
What matters most to viewers is how your product helps them, not simply what it does. Use each feature to show a practical benefit or solve a specific problem.
Ending without a call to action
Always tell viewers what to do next. This could be starting a free trial, booking a demo, downloading your software, or visiting your website to learn more.
Key takeaways
Making a product demo video doesn’t require a camera, a studio, or a production crew. Record your screen, turn a presentation into a video, add an animation, bring in an AI avatar, or assemble a slideshow from images you already have, the choice is yours.
The best approach depends on your product, your audience, and the message you want to deliver. Start with a structured script, keep the video concise, and pick tools that fit the way you work.
If an all-in-one solution sounds appealing, AVS Video Editor bundles screen recording, video editing, titles, effects, transitions, music, and voiceover tools into a single suite. Capture your demo, edit the footage, add the finishing touches, and export the final video, all from one workspace.
Pick the method that suits your project and start small. You might be amazed at how refined the result looks, even without ever picking up a camera.
Frequently Asked Questions
How do I make a product demo video without filming?
Record your screen, turn a presentation into a video, use animation software, generate an AI avatar video, or combine images into a slideshow. The best method depends on the product you’re showcasing and how you’d like to present it.
What is the best software for demo video production?
If you want an all-in-one solution, AVS Video Editor offers screen recording, video editing, slideshow creation, and effects in a single application. Other strong options include OBS Studio for screen recording, HeyGen for AI avatar videos, and Animaker for animated explainers.
How do I screen record a software demo?
Begin by planning your explainer video. Then record your screen while demonstrating the product. Afterward, trim any mistakes, add captions, highlight important actions, and include a voiceover if necessary.
Can I convert PowerPoint to a demo video?
Yes. Microsoft PowerPoint lets you record narration and export presentations as MP4 videos. Google Slides and Keynote work well for presentation-based videos too.
Are AI avatar video makers good for product demos?
Yes. AI avatar tools such as HeyGen, Synthesia, and Colossyan build presenter-style videos from a script without you ever appearing on camera. They’re a great fit for tutorials, onboarding videos, and multilingual product demonstrations.