With the number of vertical videos uploaded to social media reaching 2 billion in 2024, trendy mobile-oriented formats TikTok, YouTube Shorts, and Instagram Reels keep on conquering video sharing platforms.
In this article, we’ll see how to edit a vertical video on popular social channels and on Windows computer.
Editing vertical videos on Windows
AVS Video Editor is one of the most user-friendly and suitable Windows apps to have your footage ready for posting over YouTube, TikTok, and Instagram. Editing capabilities include custom visual elements, effects and transitions, audio tracks, merging several clips into one, trimming, etc.
Step 1. Launch AVS Video Editor, import your vertical videos into library, and drop them into the timeline.
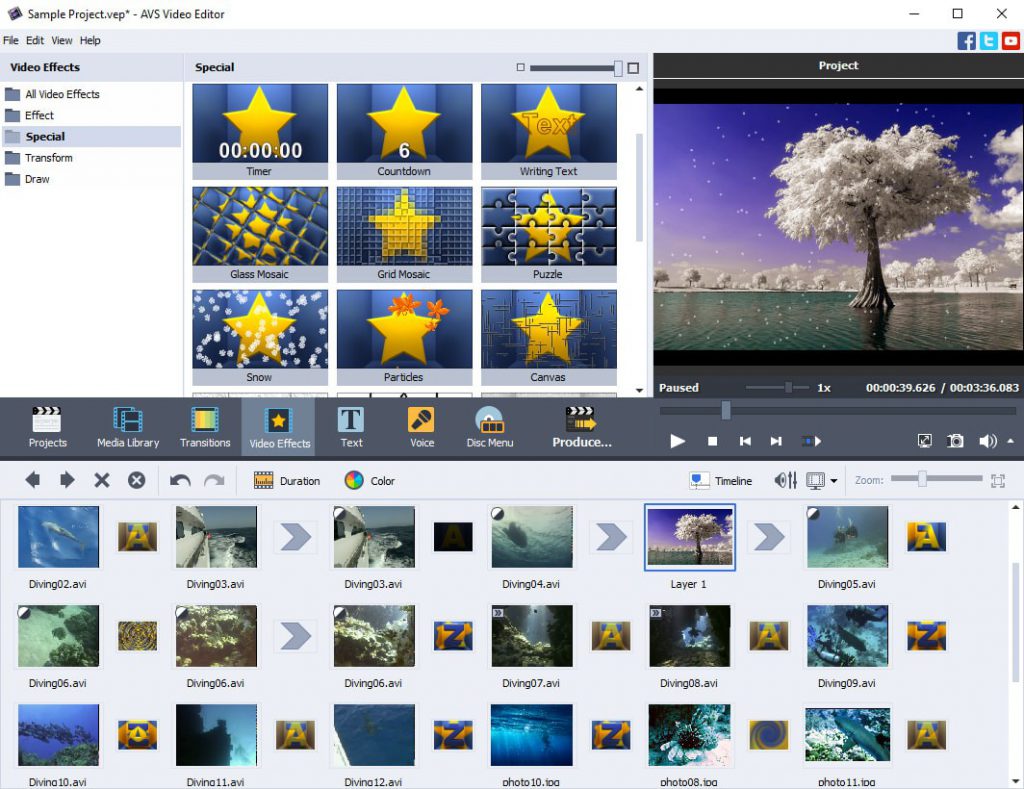
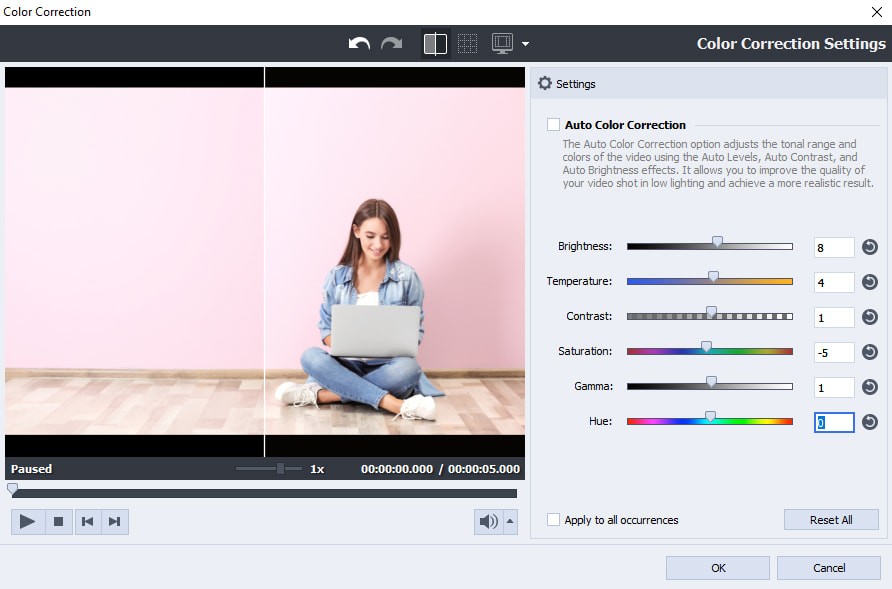
Step 2. Modify the look and feel of your vertical video to make it visually appealing.
- Choose video effects and transitions;
- Insert text and subtitles;
- Add soundtrack and voiceover;
- Crop or trim your footage.
Step 3. Set the project aspect ratio to 9:16 (mobile-first format) and export your vertical video.
Remember to save your project periodically during the editing process. AVS Video Editor provides a user-friendly interface, making it easy to create professional-looking videos.
Editing vertical videos on TikTok
TikTok offers a variety of video editing features that allow creators to make engaging and entertaining videos. Here are some key steps to follow when editing your vertical videos.

Step 1. TikTok’s editing features are user-friendly, and you don’t need professional skills to create engaging content.
- Filters to enhance the look of your video.
- Transition templates to switch between separate clips smoothly.
- Augmented Reality effects for unique visuals.
- Green screen to use a photo or video as your background.
Step 2. Additionally, you can choose text overlays to convey messages or enhance storytelling or use auto-captions for accessibility.
Step 3. TikTok is known for its music-driven content. Add popular tracks to your videos using the app’s extensive music library.
Step 4. Cut and arrange your video clips in the timeline. Remove unwanted sections or create seamless transitions.
Step 5. Spice up your videos with stickers, GIFs, and emojis. Express emotions or add humor.
Step 6. Collaborate with other TikTok users by duetting or stitching their videos. Respond to challenges or create split-screen content.
Editing YouTube Shorts
YouTube Shorts provides a convenient way to create and edit short videos directly within the YouTube app. Let’s explore the available video editing features.
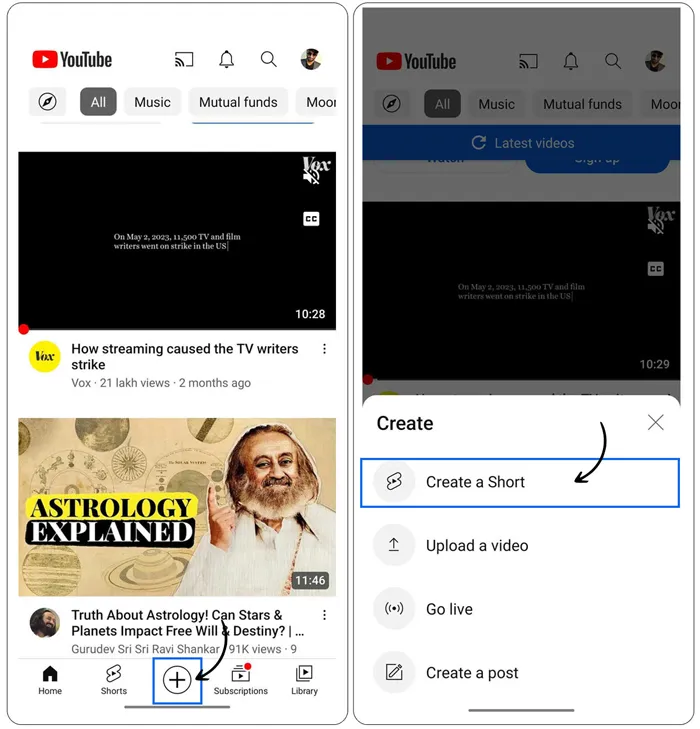
Step 1. After recording your Short, tap “Sound” to choose a sound or music track. You can pick a specific section of the sound to include in your video. Alternatively, record audio narration for your Shorts using the “Voiceover” feature.
Step 2. Use text to communicate with your audience, guide viewers, or provide context. It’s also helpful for accessibility and engagement.
Step 3. Enhance your Shorts’ style with various filters and effects. Correct lighting issues or add a vintage black-and-white feel.
Step 4. Upload a photo to serve as the background behind you in your video. Get creative by placing yourself in different settings.
Learn more about YouTube Shorts, their benefits and specifications in our recent article.
Editing Instagram Reels
Instagram Reels provides a user-friendly platform for creating and editing short videos. Here are some essential video editing features available in Instagram Reels.

Step 1. Add sound to your vertical videos. Tap the music note icon on the left-hand side while creating a Reel. Select a song from the Instagram music library and choose a specific segment of the song to play during your Reel.
Step 2. Use text for viewers who watch without sound or have hearing impairments. Also, captions enhance your Reels and clarify your message.
Step 3. Speed up your editing process using pre-designed templates. Play with available filters, transitions, replace your background with a photo or video.
Step 4. Collaborate with others by recording your video next to someone else’s. Add your perspective and create something new.
In conclusion, mastering the art of vertical video editing is essential for creators aiming to engage audiences across various platforms.
Whether you’re sharing content on social media, creating short-form videos, or producing professional projects, understanding the nuances of vertical video is crucial.