Old video recordings often suffer from visual issues such as noise, compression artifacts, low resolution, or mild blur. These problems are common in older digital files or footage that has been compressed multiple times.
The Restoration plugin powered by the Gaterv3 model allows you to improve the visual quality of such videos directly in AVS Video Editor. The effect uses a 1× restoration model designed to enhance image clarity while preserving the original resolution.
Before applying the restoration effect, make sure your video is already imported into the project and placed on the Timeline.
Since this effect is an additional plugin, it must be installed beforehand. For more information, please refer to How to install and activate AI plugins in AVS4YOU software guide.
 The Gaterv3 effect reduces noise, mitigates JPEG compression artifacts, and improves overall sharpness of mildly blurred footage.
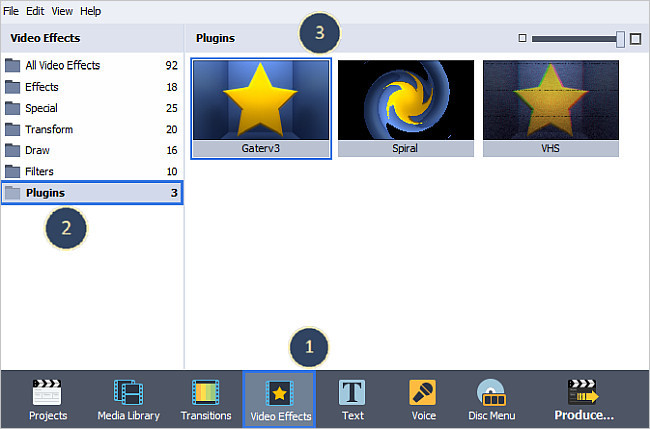
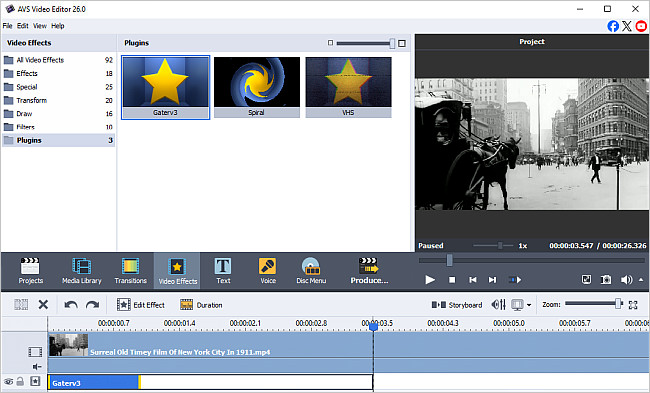
To select this effect, press the Video Effects central button within the main window of AVS Video Editor. Then all of the available effects will be displayed within the All Video Effects folder. To find the necessary video effect more easily, you can select the Plugins group from the effects groups displayed on the left.
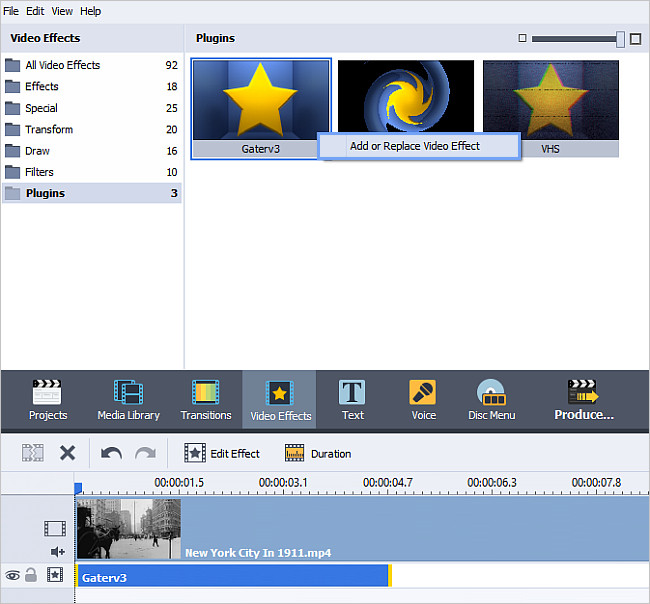
As soon as you find the Gaterv3 effect, you will need to add it to the timeline situated in the lower part of the program window. To do it, right-click the Gaterv3 effect and choose the only available option of the express menu - Add or Replace Video Effect. After doing this, the effect will be displayed on the timeline.
[Back to the Top]
The Gaterv3 effect will be placed at the cursor position on the timeline and will occupy the standard room within the video effects line. If you want to apply the effect to the entire video, you should change its duration. To do that, highlight the effect by clicking it on the timeline and press the Duration button above the timeline. The following window will be opened:
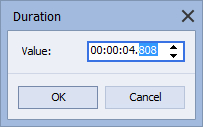
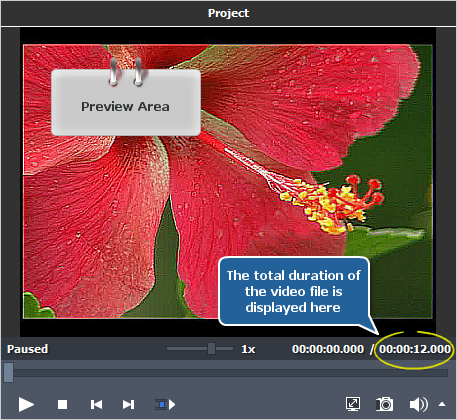
You can enter any value into this field within the total file duration, of course. To learn the exact duration of the file you are editing, look at the Preview Area situated on the right-hand side. Here you can see the total duration of the video file, as well as the current cursor position.
To apply the video effect to the entire file, set this value within the Duration window. Thus, the effect will occupy the whole video effects line.
If want to apply the Gaterv3 effect only to a part of your video, you should click the effect on the timeline with the left mouse button to highlight it. Then direct the mouse cursor to the left effect edge (it'll turn into the bidirectional black arrow) and move it to the left or right to find the necessary moment, without releasing the mouse button. While moving the arrow have a look at the Preview Area. As soon as you find this certain moment, release the mouse button. Then do the same with the right effect edge.
You can use the Zoom slider to zoom in the video on the timeline in order to find the exact moments easily.
[Back to the Top]
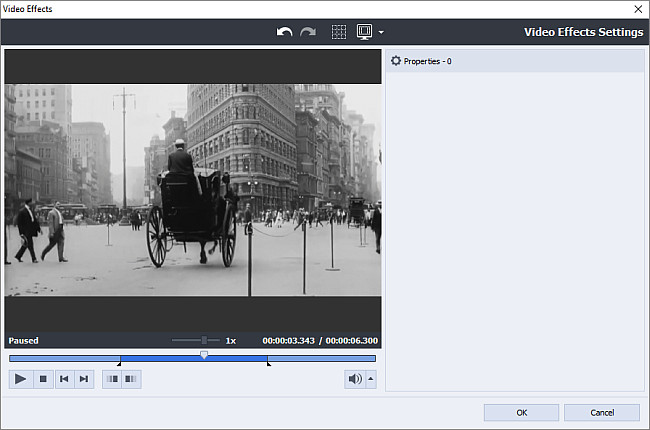
Click the Edit Effect button above the timeline to open the Video Effects window. Press the  button within the Preview Area of the same window to start playback. Here you can also make the effect gradually appear and disappear in the video. To do that, click with the mouse within the blue bar shown in the figure below and press the
  button. So the Fade-in area will be marked. To set the Fade-out area, click with the mouse in another place and press the
  button.
If you are completely satisfied with the added effect, click OK to accept all the changes and close the Video Effects window. Afterwards, you can save the current project, as well as the edited video file into one of the supported formats. To learn more about it, read the How to save the project and the video in AVS Video Editor? guide.
[Back to the Top]
Please note that AVS4YOU programs do not allow you to copy protected material. You may use this software in copying material in which you own the copyright or have obtained permission to copy from the copyright owner.